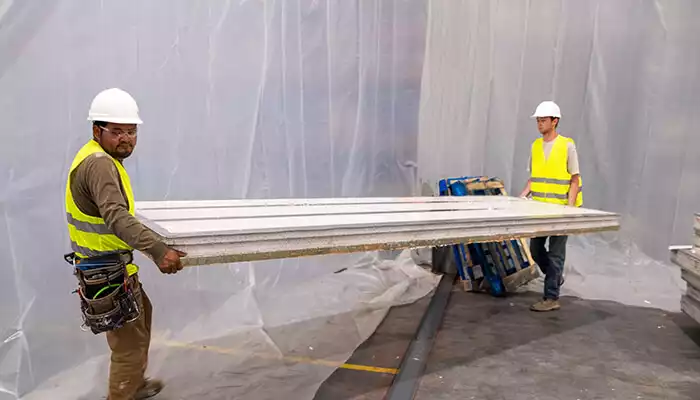
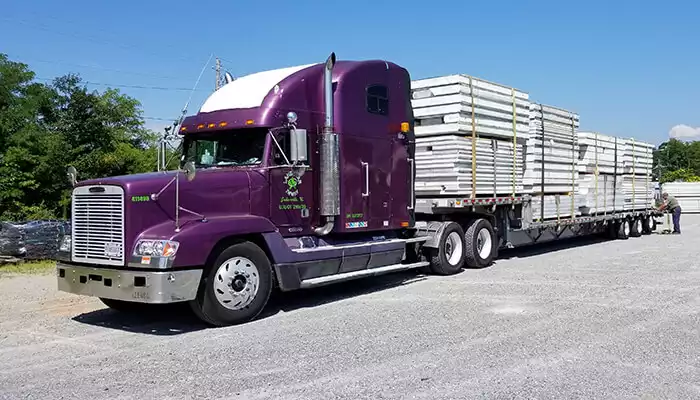
- Panels arrive numbered according to the assembly plan (shop drawings).
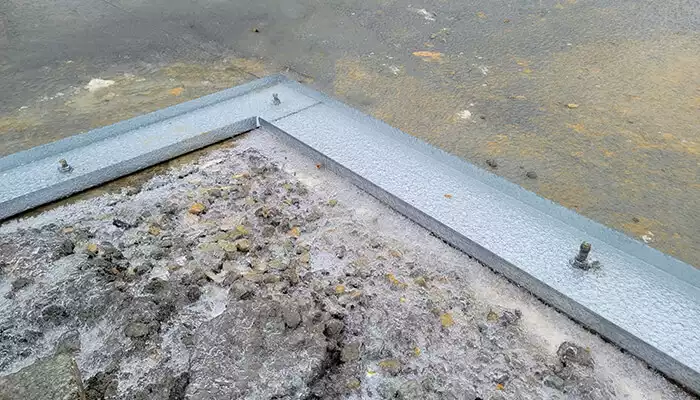
- Clear the levelled slab from debris and dust, lay the sill foam or #30 felt or caulk (seam sealer: Prosoco R-Guard) under the track.
- Mark with a chalk line the track position. Then, lay the track. Bolt track to the slab/foundation (per engineer’s or IRC/IBC guidelines and local code).
- Starting at a corner and working your way from left to right, drop panel number 1 in place.
- The leading edge of the panel is always on the exterior side.
- Secure the panel by screwing two #10 self-tapping screws through the flanges of the track into the studs of the panel on the exterior, and two screws on interior side of the track.
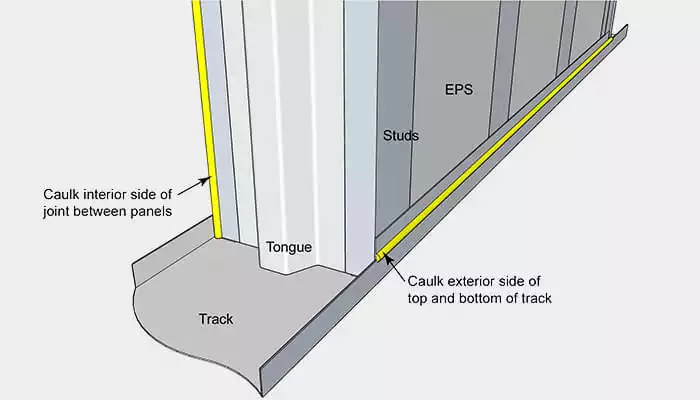
- Then drop panel number 2 in place making sure it fits snug into the track and into the groove of the adjacent panel.
- Continue to the next panel to complete the wall.
- We recommend to temporarily brace panels every 8’ until the structure is fully secure.
- Once panels are in final position, secure leading edge to adjacent panel by using six (6) #10 self-tapping screws evenly spaced vertically.
- After all wall panels are in place and secure, attach top track to panels and secure per step 7.
- Caulk interior joints between panels.
- Caulk the gap between the track and the panel on the bottom of the exterior side.
- For specific conditions please refer to the provided shop drawing assembly for your project.